Want to build one too? Here's the story how I built a DIY console for less than 100CHF.
Preface
My first contact with Gaming and PCs in general was when I was playing Anno (don't remember which one specifically) on the old and slow desktop PC of my father. I remember that I was building my city for hours and hours - even though I wasn't very good at the game.
Some years later, I was gifted an ACER gaming desktop. It featured a NVIDIA GTX 960 and an Intel I7 6700K - a huge improvement from my previous old and incredibly slow Acer laptop. I immediately started playing Minecraft on the highest settings daily after school. That was really fun.
After I finished primary school and got my apprenticeship, I also started watching Youtube videos of the English community. At this time, LTT started to gain traction in the more mainstream consumer channels and I started watching every video of them.
About at that time I also started hosting my own Minecraft server with a volunteer team of 7 people. We had a great time together but slowly the graphics card was getting to it's limits (custom shaders, mods, ...). So as soon as I started my apprenticeship in 2019, I started saving up for a bigger and better PC - which I still use today in 2024!
My old PC was stored in a closet though and I rarely ever used it. So what should I do with it? Sell it?
Why build a DIY console?
I have to admit - I am not really a fan of gaming consoles. They seemed rather expensive and limited in their functionalities. On a normal PC, I am able to run any program. Even better, I'm not vendor-locked. But after my recent move I did start to see the advantages of having a system that is only used for Games. It's rather tiring to start up your PC after a long day of work and waiting for it to start the game while you get the full blast of all distractions (Discord, Email, Browser, ...).
So when I started building a new TV setup for my livingroom, I decided that I am going to make an easy to use gaming setup for my favorite games. I wanted it to be silent, fast booting without any bloat on it (only games, no other software). "What system should I buy though?" Wait, I still have my old PC laying around - does it still work?
Behold, it boots
After ripping out the motherboard from the damaged case, I plug in power, put in a SSD and flash Windows. Surprisingly, Windows 11 starts booting without any issues and this thing even has a TPM.
But is it really enough for what I want to play? I make a list of all the games:
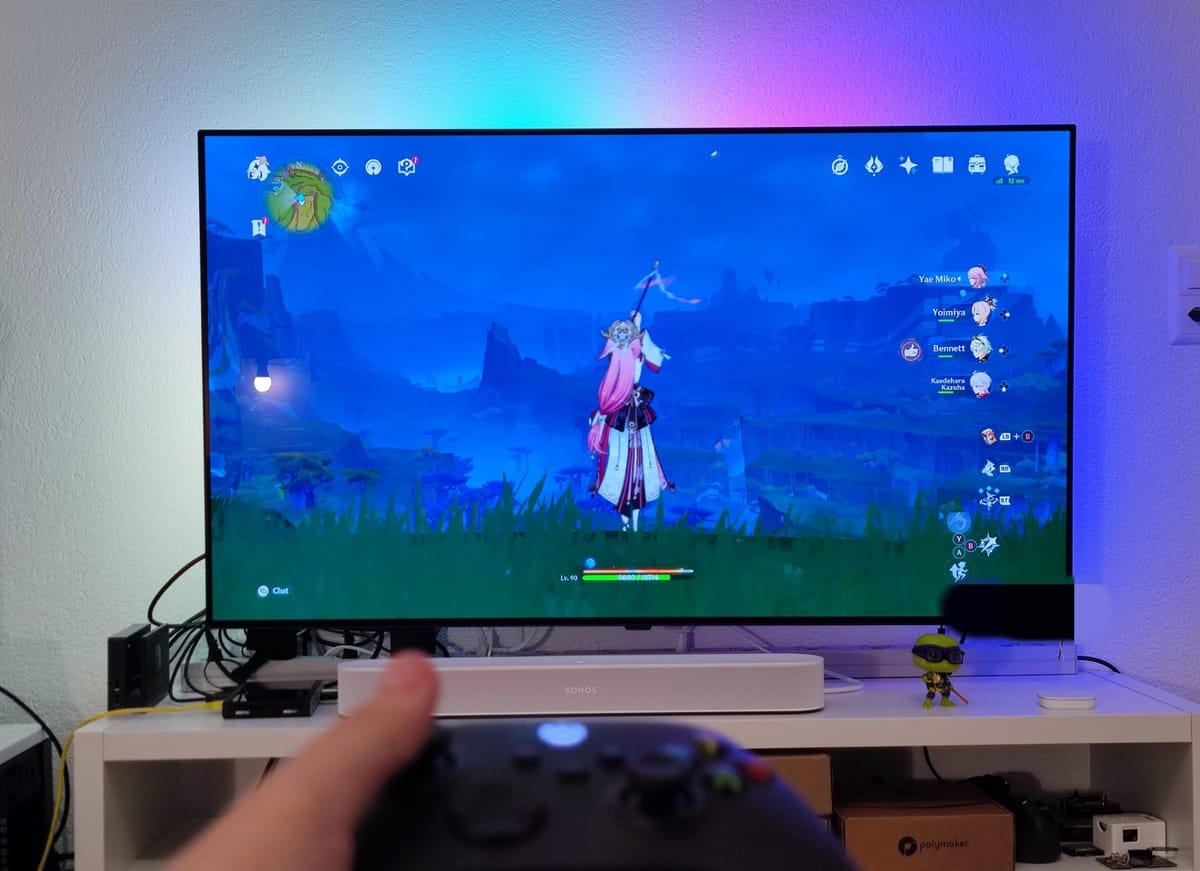
None of them is really demanding. And all of them will look great on my 4K OLED TV (although the GPU isn't handling 4K well).

Steam is your friend
All of these games support controller. While I usually prefer keyboard, I do see the advantages of now having to manage holding a mouse and a keyboard while sitting in front of the TV. So I buy one of the cheapest and most popular controllers which I will be pairing via Bluetooth. Next, I 3D print a new motherboard holder so I can put the PC into the TV furniture.
To get a console-like experience, let's talk about software. I did some quick researching if there is any good launcher that I could boot instead of the Windows Explorer. Linux is out of the question due to bad game compatibility. But there is really no competition; Steam has you covered. Big Picture is a full screen mode of Steam which looks very similar to your typical console interface. It supports controllers, looks pretty (even better than the Desktop Steam 🤣) and can launch third party games. Perfect!

Tweaks and configs
To make Windows feel even more console-like, I also applied the following tweaks to it:
- Enabled Wake On LAN: Boot the PC from a ZigBee button or HomeAssistant
- Hid the taskbar permanently
- Created a local user without any password so login is automatic and no prompt is shown.
- Changed all backgrounds to black images to avoid any flashbangs in the night
- Replaced the default Windows Explorer with the Steam Client so no Windows UI is shown anymore
- Added a "Startup Movie" with a nice sound (about 3K Steam points)
- Added a UGREEN Bluetooth adapter for more stable Bluetooth - the built in one was very unreliable and wouldn't automatically connect with the controller.
- Downloaded my favorite games and added Genshin Impact and Zenless Zone Zero as external games.
Not pretty, but it works

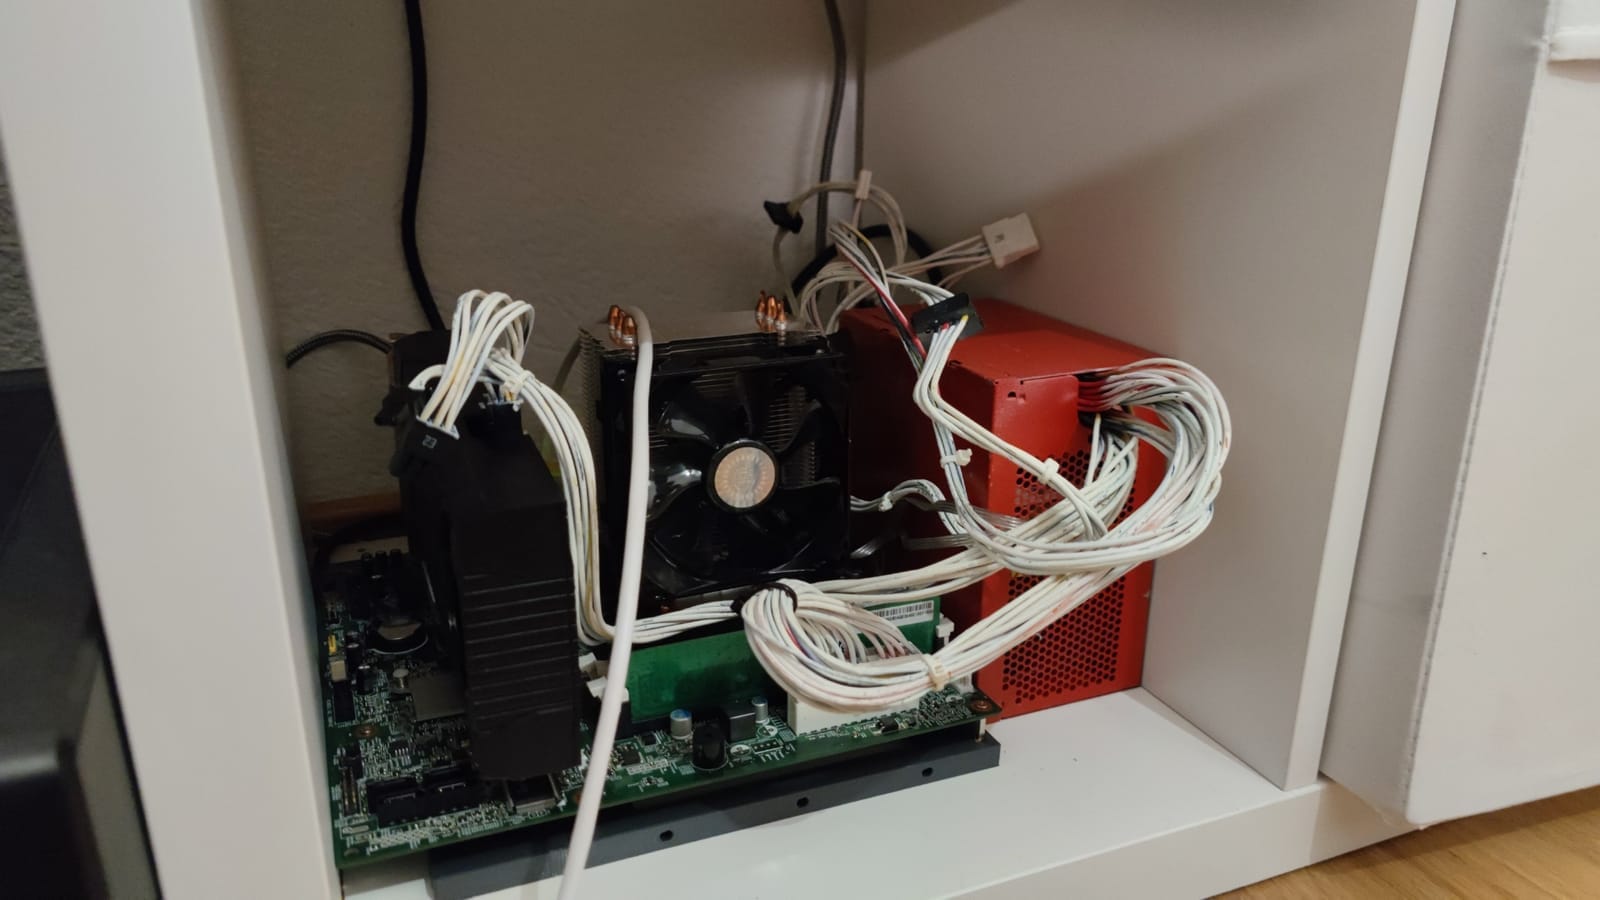
It doesn't look pretty at all. Some of the components are bent, have been spray painted and the air cooler is slightly louder than I would like it to be. Nevertheless, it works beautifully when playing games and is hidden well using a sheet of white wood in front of it.
Further ideas
Since I now have a "games-only" machine, I can also use this for playing games remotely. Using Sunshine, Moonlight and a remote VPN, I can connect from anywhere around the world (with a stable connection) and play my games. This is great because my small factor laptop doesn't have the juice to run many of the above mentioned games without throttling or being very loud.
I am also thinking about modifying my Windows even further - there is about 5-15 seconds delay from Sign-On to Steam Big Picture - maybe this can be reduced?
Also, replacing the Windows Explorer with the Steam Client doesn't quite work - it makes the sound distorted and seems to break some games. Would be interesting to hear your thoughts on this.
Conclusion
In the end, I saved about 300-500 CHF by reusing my old PC. Sure, it's not the most powerful and energy efficient setup, but reusing is still much better than buying brand new. It also doesn't run 8 hours daily nor does it have any extremely hot components. Commercial consoles will be much easier to setup, just "plug and play" - but this DIY project was lots of fun and I can enjoy my games now on a shiny & bright display whenever I want. And if I will no longer use this PC, I can reuse it for other purposes.


Member discussion